a day in the life

Blue Collar

And the glittering continues...!  We appreciate some good kitsch every now and then so we've become borderline obsessed with the Gucci SS 16 RTW collection.  The color, the print, the silhouettes...love, love, love it all.  Unfortunately most of us don't live a life where such costumery is practical on a daily basis.  We needed some of it in our life anyway so we let a little glue and glitter run wild in an attempt to create a little Gucci-sequin-tromp l'oeil magic of our own.  What's great about this collar is it's an easy add on to any outfit for a little added pizazz...we of course would love it as much, if not more, paired with some beat up denim.  Given the time and means we would probably create a dozen such inspired trinkets but for now we'll settle for this and maybe a dress version that maybe we'll be wearing when next you see us....just maybe..... ;)

Our inspiration for this collar came to us courtesy of this Gucci Top.

for the Littles:

for the Girls:

for the rest of Us:

Iconography

This week we're back with more DIY and we've gone gonzo with the glitter.  Inspired by denim patches and sequined icons we have glittered our sneakers with nearly every glitter color under the sun.

the DIY deets:

  • Tools: Sneakers, Pencil, Clean Eraser (for any slips of the pencil), Washable/Flexible Fabric Glue, Small Short Bristle Paint Brush, Glitter (we used a Recollections Glitter Set and a Martha Stewart Neon Glitter Set), Clean Tooth Picks, Scrap Paper , Scissors (to cut our your paper icons), Tape and Sheets from an Old Magazine to catch excess glitter
  • sketch icons onto the sneaker with a sharp pencil (we drew ours on paper first to make sure the size was right, to perfect the shape and so we could place them on the shoe and make 'em fit, then we traced around them and free-handed the interior details)
  • using fabric glue and a small brush apply a thin layer of glue to the inside of 1 icon at a time
  • cover the icon in glitter and then immediately dump the rest of the glitter off of the shoe (to conserve glitter either use only enough to cover the glue or glitter over a clean piece of  a magazine page to easily funnel the excess glitter back in the tube)
  • if you are careful you can do a couple of icons on the shoe at a time as long as they are on a different part of the shoe and you are very (very!) careful to not bump it smudge the glue...
  • wait a couple of hours between glittering sessions
  • once all icon interiors are complete lightly brush off any excess and move on to the outlines using a steady and even bead of glue, follow the same process for applying the glitter.  use the toothpicks to gently nudge glitter into place and help even out any inconsistencies in the width of the glue/glitter 'line'
  • we did the rainbows last, patiently one color at a time, 2 hours curing time between each color
  • after the shoes has dried for 24 hours use small pieces of tape to help clean up excess glitter left in between the icons on the shoe

for the Littles:

for the Girls:

for the rest of Us:

Hearts Aflutter

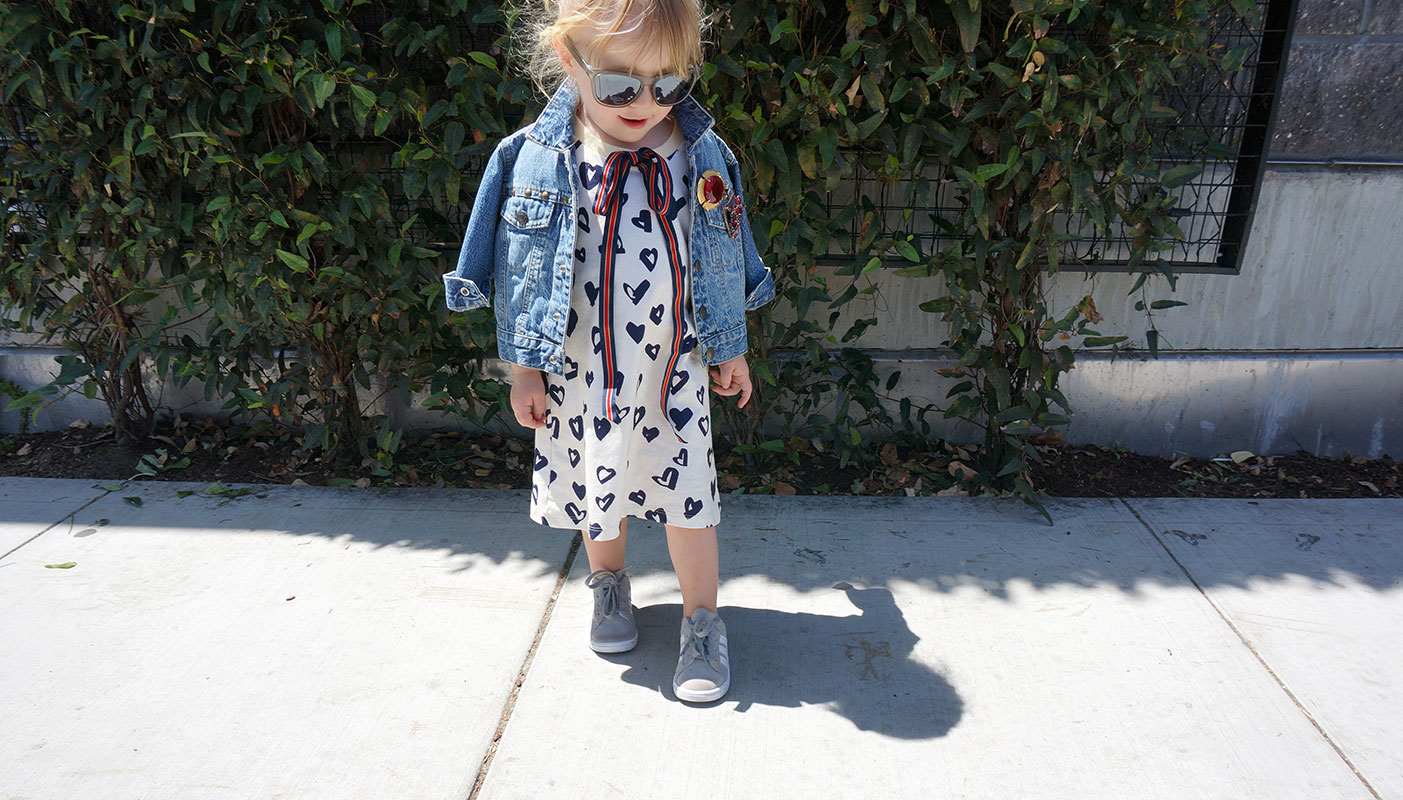
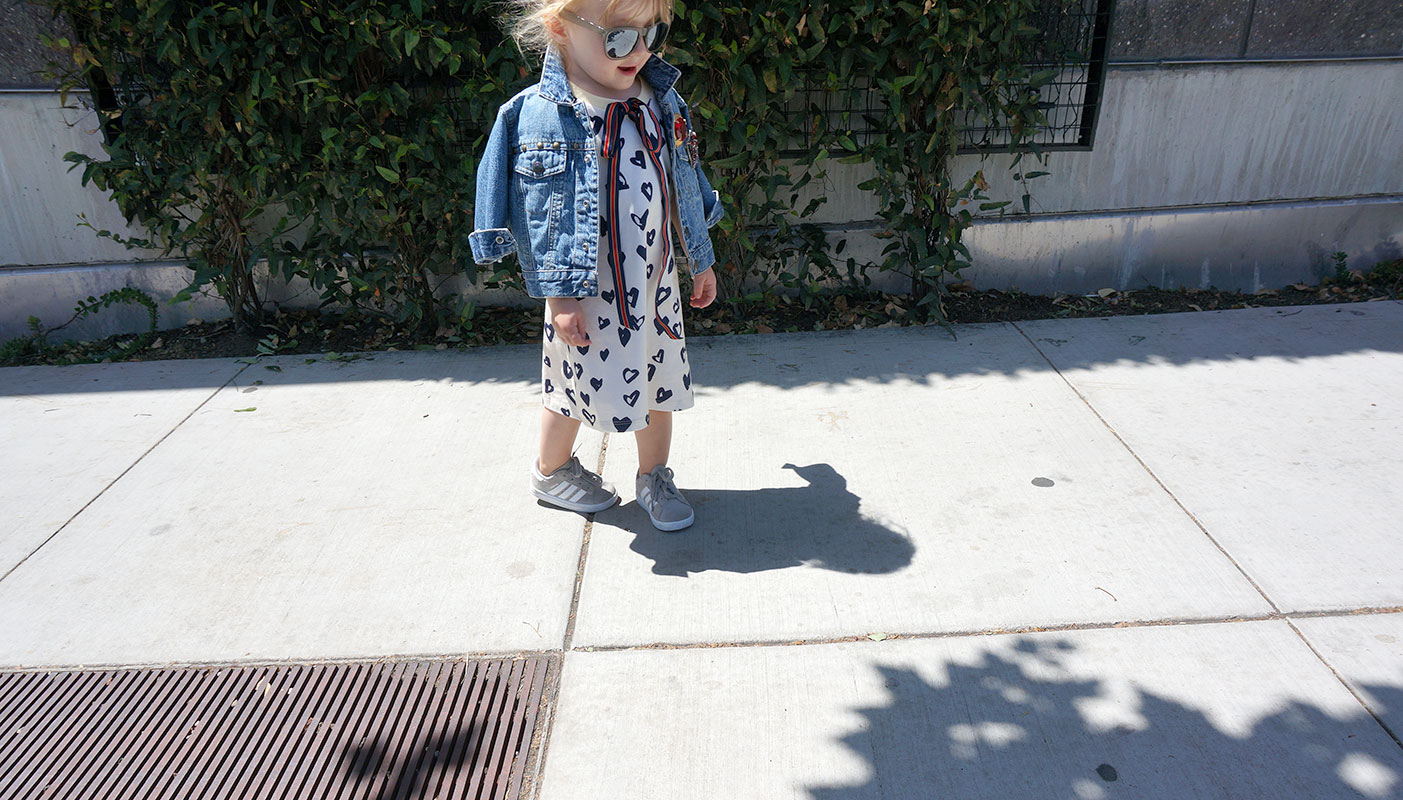
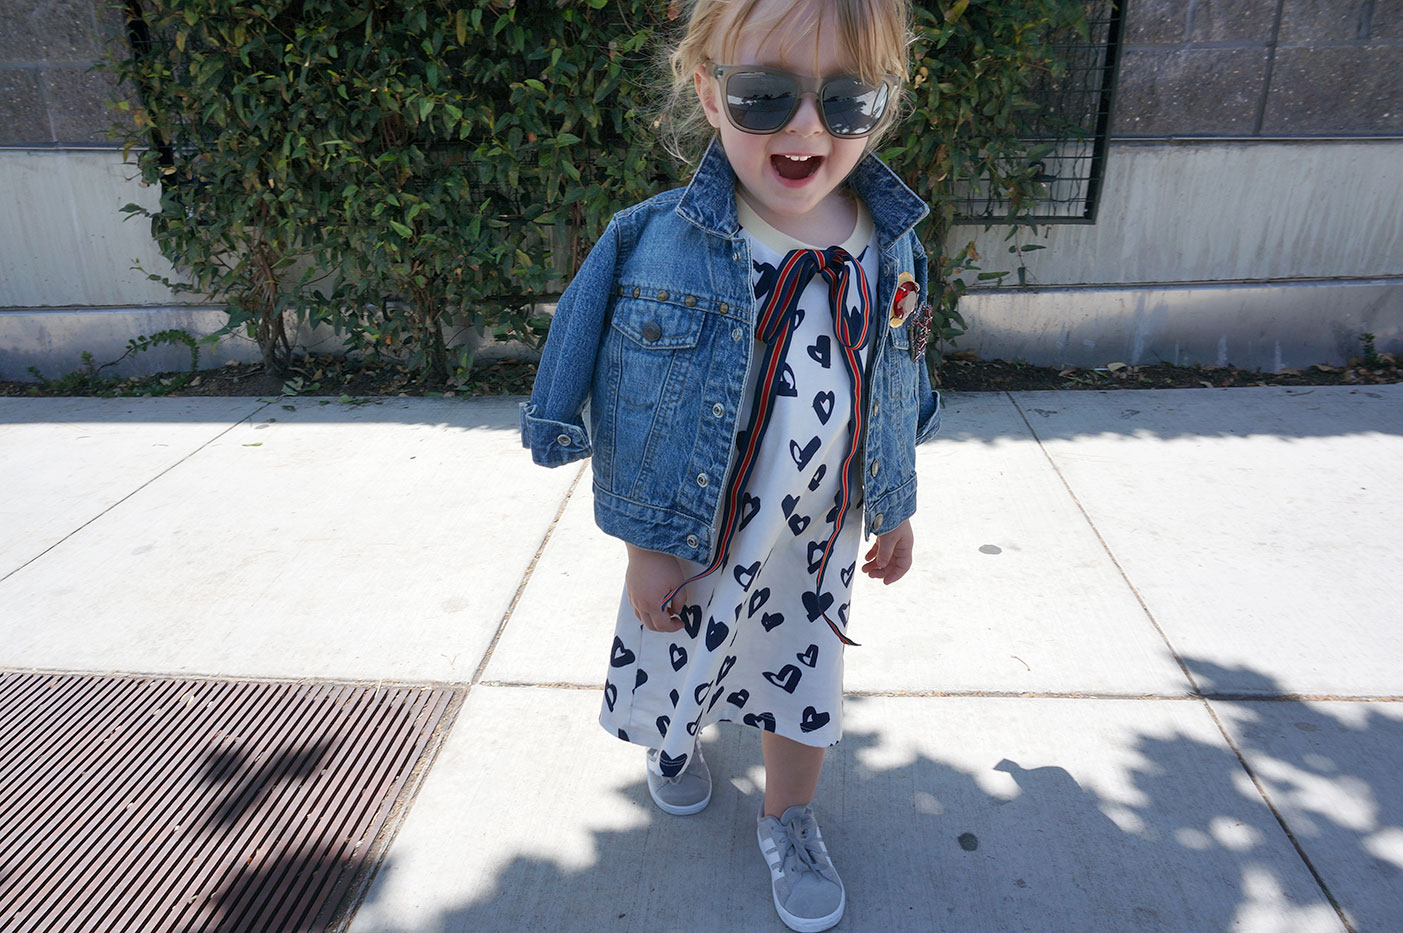
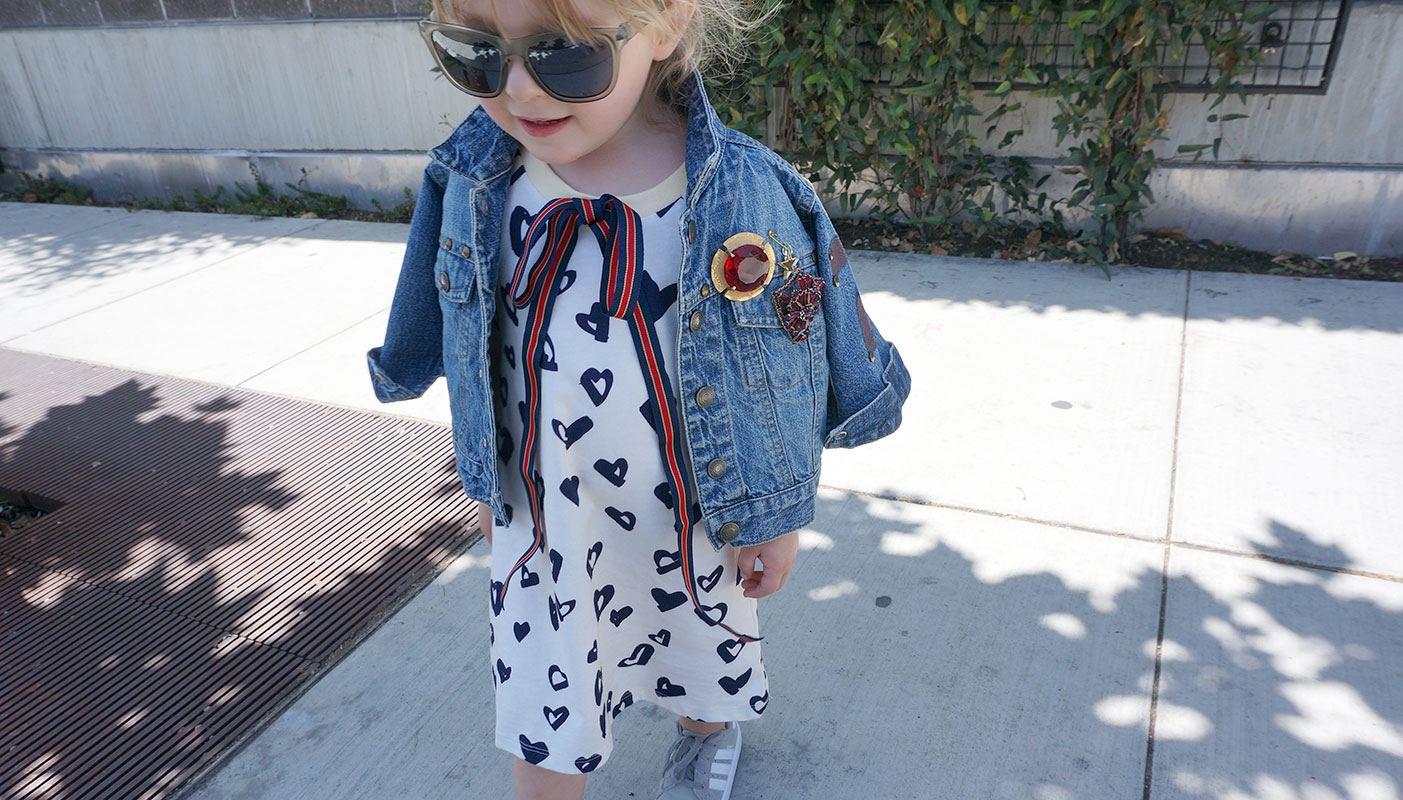
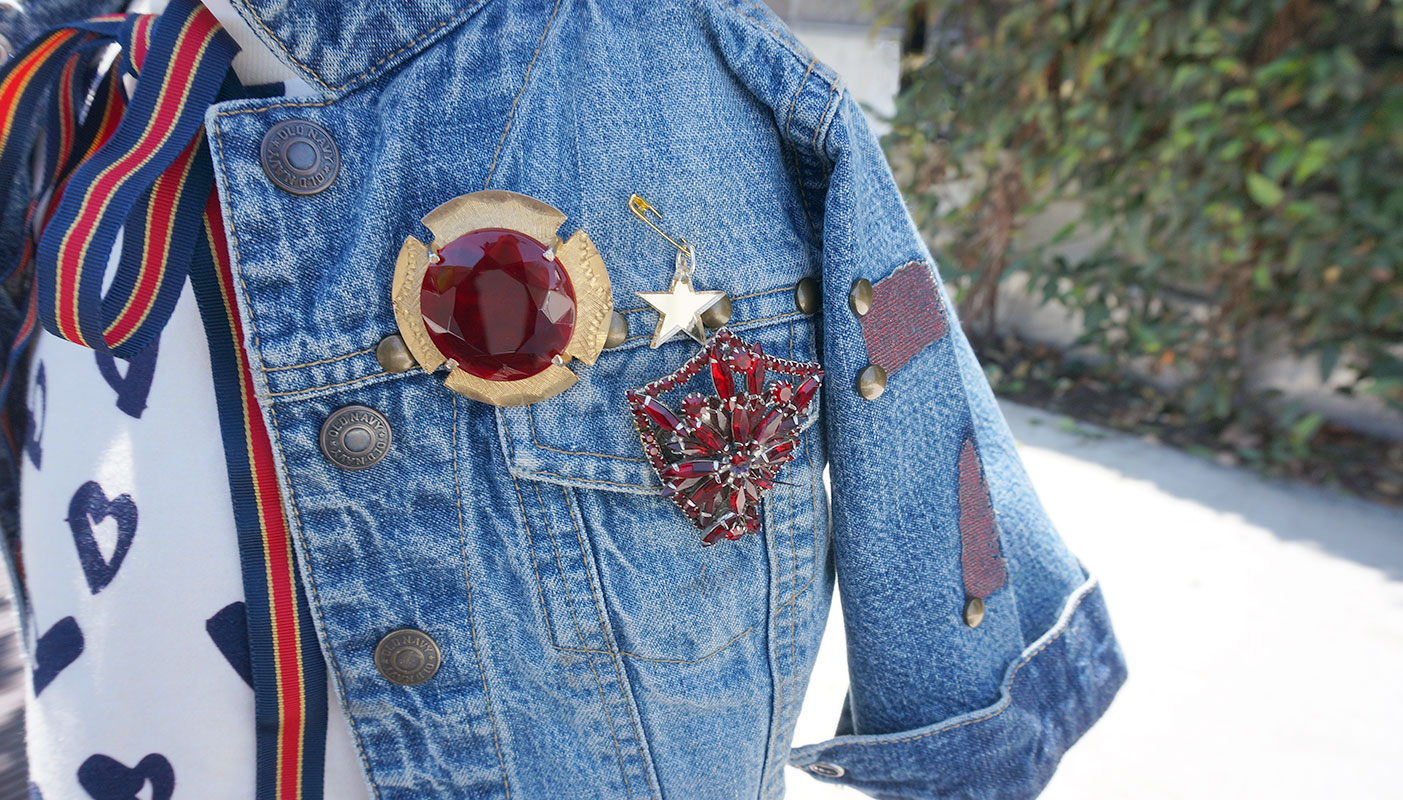
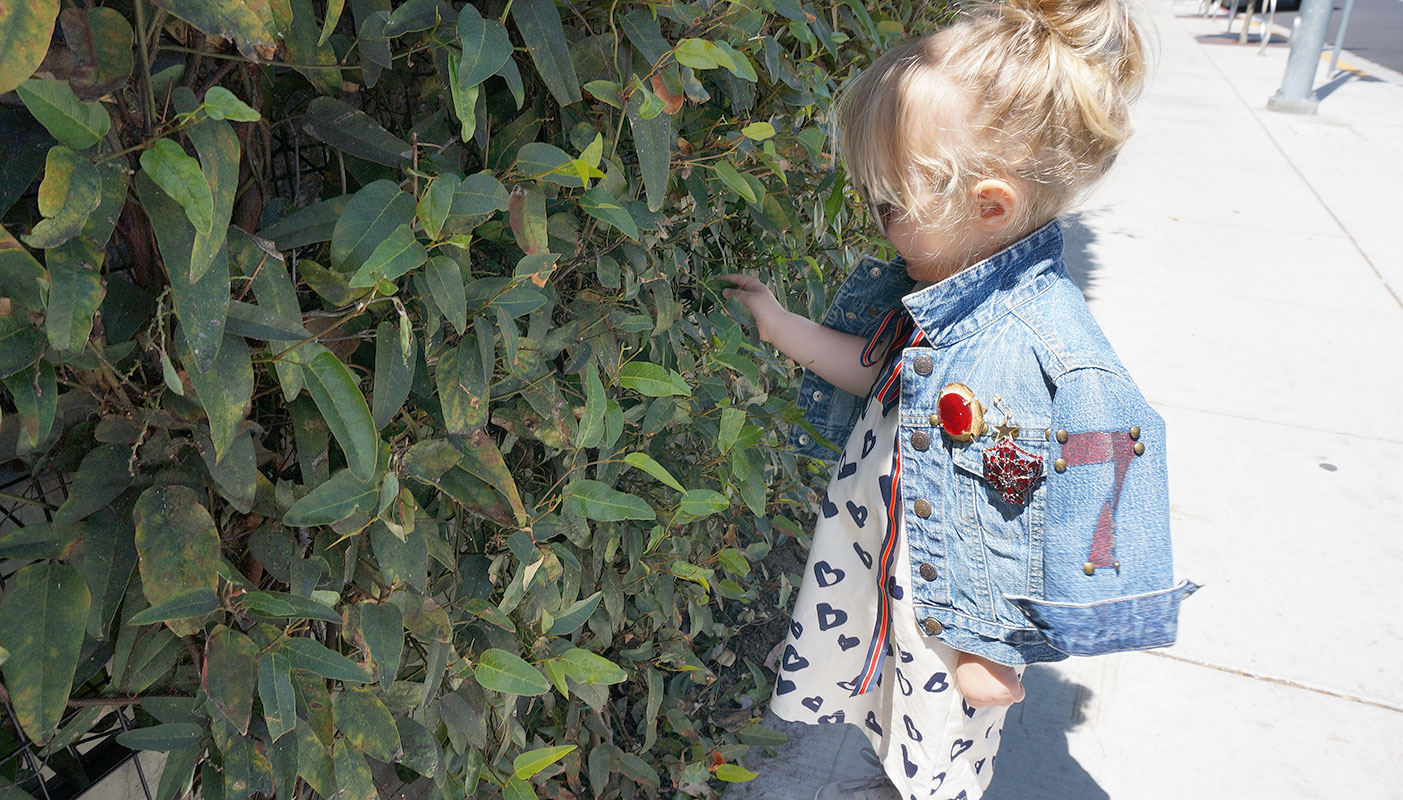
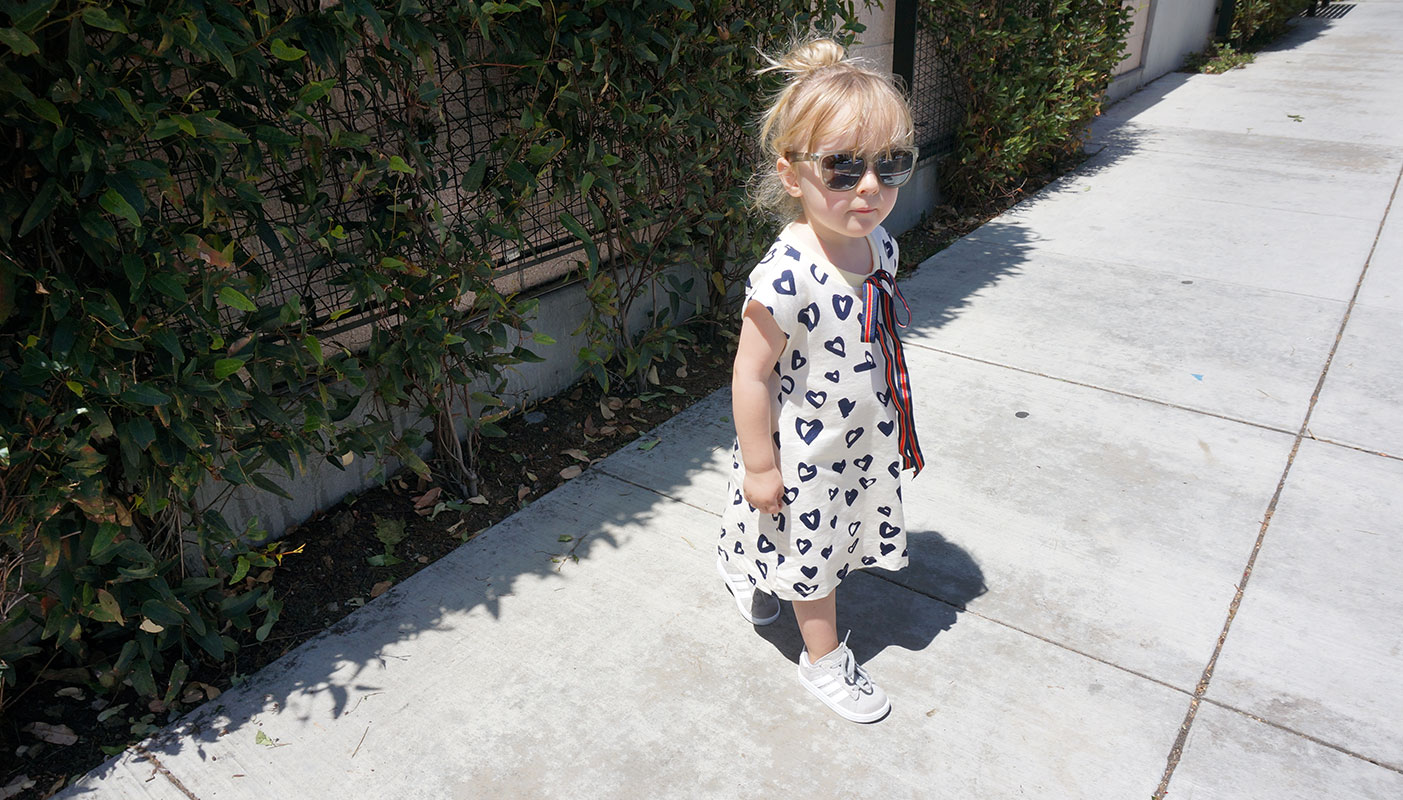
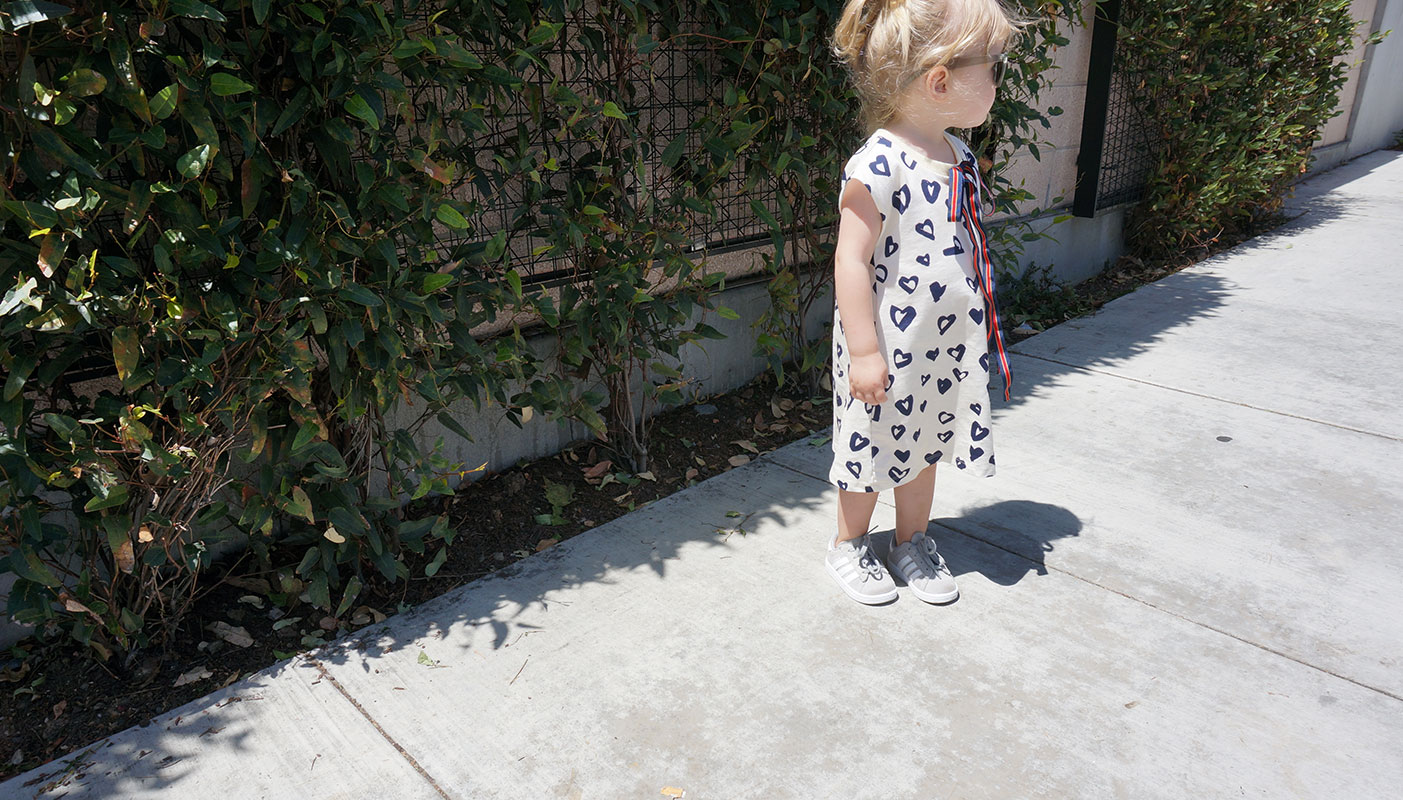
Our final DIY design project of the week in collaboration with Flaire Kids...yesterday's t-shirt is today's dress!  Today we have taken a short sleeved size 8/9 tee and turned it into a size 2/3 cap sleeve shift dress.  Taking a cue from the recent collections from Valentino, Gucci and St. Laurent we've also added a neck tie detail.  If you sew these projects are rather easy, after all, knit fabric is rather forgiving.  We've used a new tee here but this is also a great way to update a hand me down or put a new spin on a trip to a second hand shop.  A tee is typically less expensive than a dress so if you get the hang of it there is money to be saved and, guaranteed, no one else will be wearing anything like it!  We get dressed everyday, why shouldn't it be a bit of fun and an opportunity to be creative?

The DIY deets:

  • Carefully cut the sleeves off along armhole seam.  Cut on the sleeve side leaving the seam and seam allowance attached to the bodice of the dress...if you cut carefully along the seam the seam will likely naturally fold into the interior of the garment and will not be visible.
  • Try the garment on your child and use safety pins to determine how much you want to take the garment in on each side under the armhole. 
  • Measure how far you have pinned in from the edge of the garment on each side, if the measurements are the same, great, if not, average them to determine where you will place your new side seams (for instance if one side you've pinned in 1" from the side seam and on the other you have pinned at 1 1/4" you will use 1 1/8" as your measurement for the new side seam placement).  To complete the side seam mark this measurement at the armhole and just below and then mark a straight line to the existing side seam where it meets the hem stitching so that as you sew your new side seam, once you reach the hem you are no longer reducing the width of the garment.  This will give the new garment a slight a-line shape.
  • To sew the new side seam a serger will yield the quickest results but if using a sewing machine use a small zig zag stitch to sew your side seam...this stitch has natural give that will stretch a bit with the knit fabric.  To finish the seam we just repeat this zig zag stitch 1/4" into the seam allowance from the side seam.  Trim the excess fabric along this finishing stitch.
  •   Use a thin layer of stretchable fabric glue to now go back and secure the seam allowance along the new armholes/sleeve openings to the interior of the garment.

for the Littles:

  • Être Petite Tee (8/9 Tee turned into a 2/3 Dress)
  • similar DL1961 Denim Jacket
  • similar Sons + Daughters Matte Frost Sunglasses
  • Vintage 5/8" Grosgrain Ribbon made into a Bow (our loops are approx 3 1/2" and our tails are approx 13", 1 1/2 yards needed for this length with some left over, to finish the ends cut at an angle and immediately apply a small bead of fabric glue along the edge, dry over night), similar Vintage Stripe Grosgrain Ribbon
  • Adidas Originals Campus 2 Sneaker

for the Girls:

for the rest of Us:


Et Voilà

Customized look #2 of the week...  This one is not much of a departure from the original.  This is a 7/8 a-line, knee length tank dress taken down to a 2/3 straight, mid-calf length tank dress with side slits.  The flocked primary letters on this classic stripe are très chic, no?  Thanks Flaire!

The DIY deets:

  • Try the garment on your child and use safety pins to determine how much you want to take the garment in on each side.  
  • Measure how far you have pinned in from the edge of the garment on each side, if the measurements are the same, great, if not, average them to determine where you will place your new side seams (for instance if one side you've pinned in 1" from the side seam and on the other you have pinned at 1 1/4" you will use 1 1/8" as your measurement for the new side seam placement).  Based on fabrication and cut of the starting garment it will be best to keep a column shape and place the new side seam at a consistent distance from the existing side seam for the full length of the garment.  Use a thin washable pen or marker to mark the new side seam placement, this will be helpful when you secure the seam allowance for the side slits later on.
  • Before sewing mark the height of your side slits.  We placed ours at the top of the knee.
  • To sew the new side seam a serger will yield the quickest results but if using a sewing machine use a small zig zag stitch to sew your side seam...this stitch has natural give that will stretch a bit with the knit fabric.  Remember to stop stitching where you would like your slit to be placed.  To finish the seam we just repeat this zig zag stitch 1/4" into the seam allowance from the side seam.  Trim the excess fabric along this finishing stitch.
  • If necessary, hem the garment to your desired length.  We used the same mini zig zag stitch, two rows 1/4" apart, to simulate a double needle stitch.  A straight stitch would work just as well....just watch your stitch tension so the fabric does not pucker.
  •   Use a thin layer of stretchable fabric glue to secure the seam allowance along the new side slit openings to the interior of the garment by folding along the markings you made earlier.  (We did this after hemming the garment only because we did not want to stitch thru the glue...it might gum up the machine)*

*This is NOT the proper way to construct a garment, however it is the quick and sane way for a busy mom and really, no one will be the wiser.  If you would perfer to do it properly you would do a 1/4" top stitch to secure the side slits (rather than fabric glue) and then hem the garment.

**Taking this quick moment to recognize that on all of the DIY projects this week we have blown true pattern making out the window!  By taking in the side seams this much we are removing all shape from the armhole and by doing so creating an upside-down tear drop shaped opening.  While not tecnhically 'correct,' in these sleeveless knit garments, it functions just fine and will not be noticeable. 

for the Littles:

for the Girls:

for the rest of Us:

Cha-Cha-Cha-Cheetah

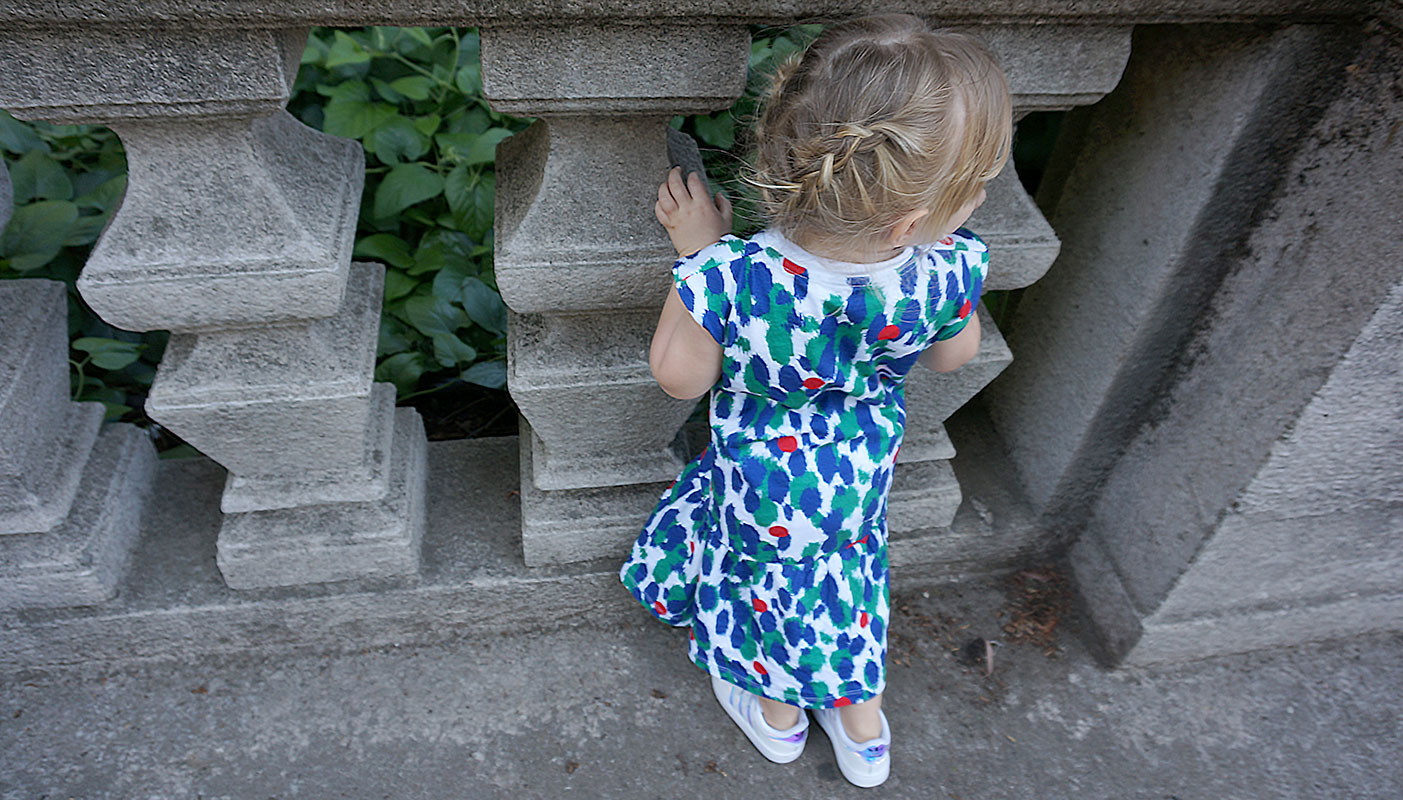
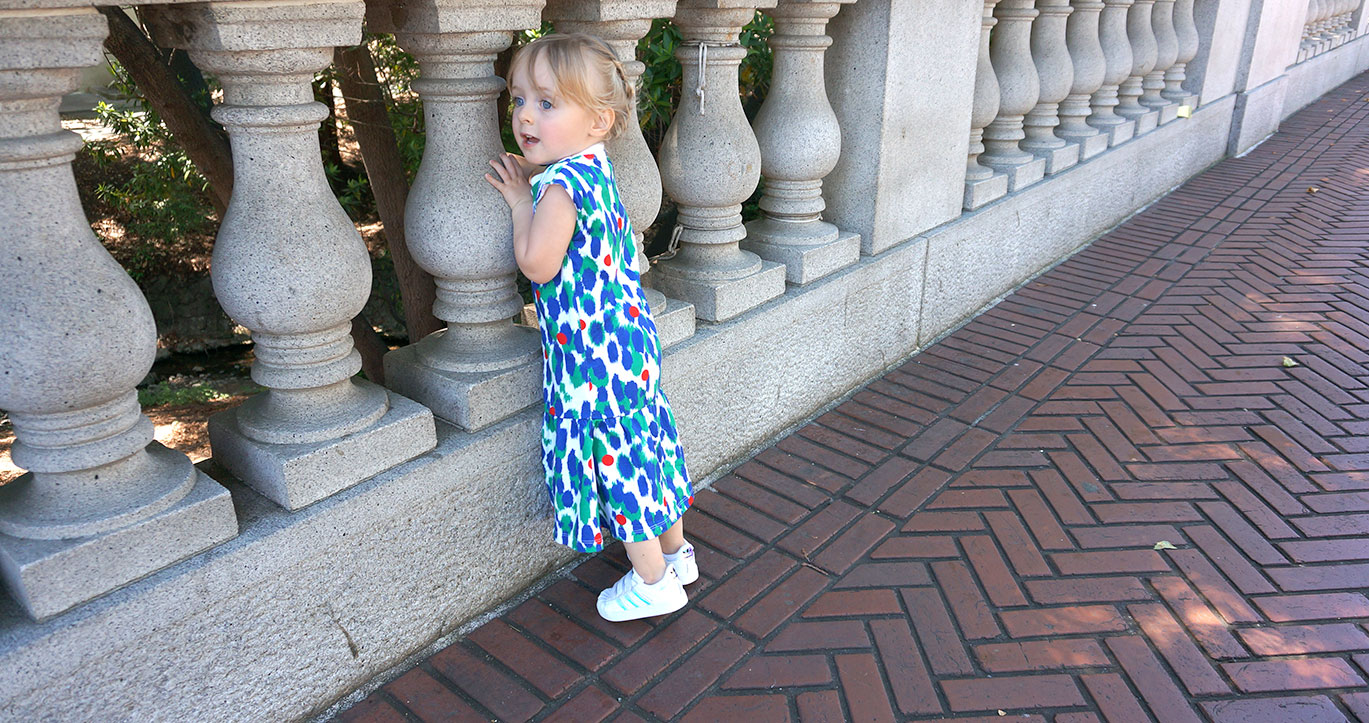
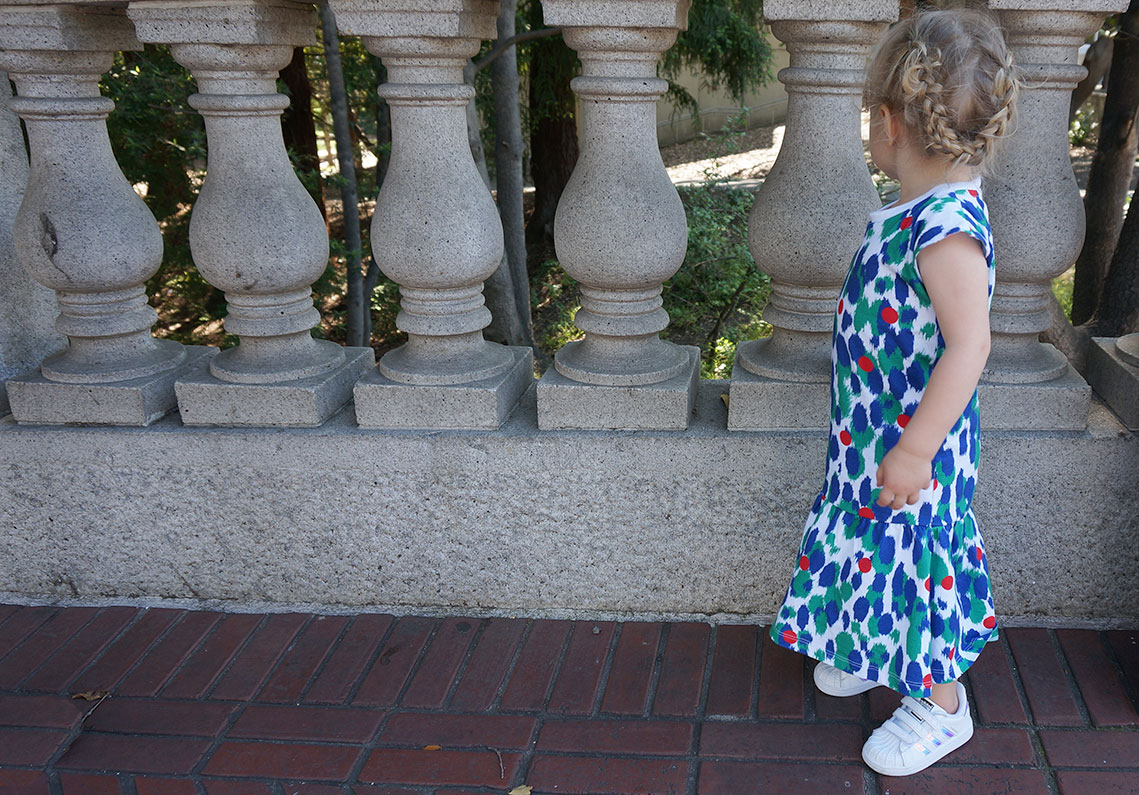
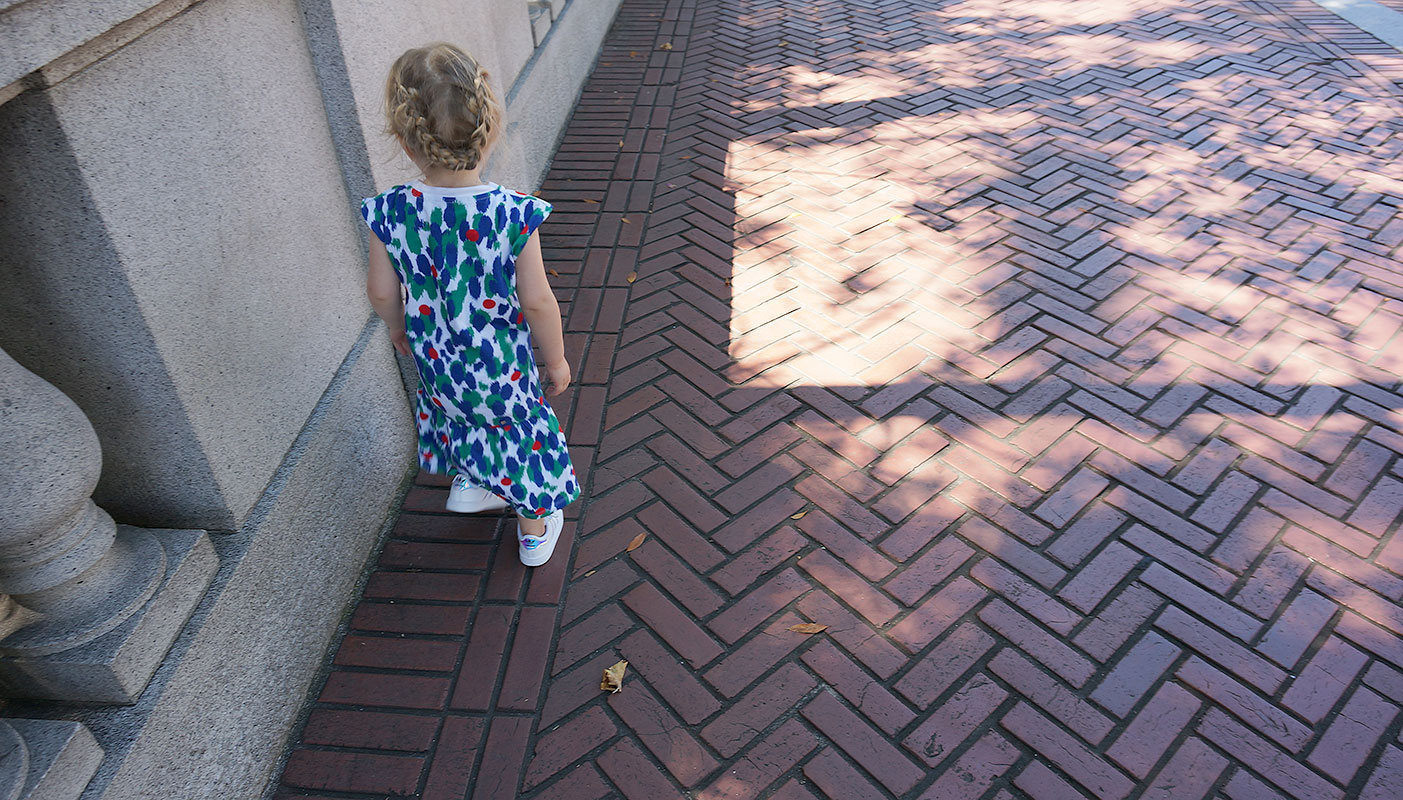
We've caught a bit of the DIY bug lately so this week we are partnering with our friends at Flaire Kids to have some fun with a few pieces from their Être Petite assortment.  Today we've taken a drop waist t-shirt dress and turned it into cap sleeved, flared maxi dress.  The shirred hem allows for plenty of movement (running and climbing are a non-negotiable for this kiddo) and we love the length that hits just above the ankle.  Best of all the shape reminds us of some sort of taffeta prom number from the 90's and we're into it!

The DIY deets:

  • Carefully cut the sleeves off along armhole seam.  Cut on the sleeve side leaving the seam and seam allowance attached to the bodice of the dress...if you cut carefully along the seam the seam will likely naturally fold into the interior of the garment and will not be visible.
  • Try the garment on your child and use safety pins to determine how much you want to take the garment in on each side.  
  • Measure how far you have pinned in from the edge of the garment on each side, if the measurements are the same, great, if not, average them to determine where you will place your new side seams (for instance if one side you've pinned in 1" from the side seam and on the other you have pinned at 1 1/4" you will use 1 1/8" as your measurement for the new side seam placement).  Based on fabrication and cut of the starting garment it will best to keep a column shape and place the new side seam at a consistent distance from the existing side seam for the full length of the garment.
  • At the skirt seam you will start to angle your new side seam so that by the time you reach the hem of the garment the new side seam will converge on the existing side seam, you are no longer reducing the width of the garment to maintain maximum fullness in the skirt.
  • To sew the new side seam a serger will yield the quickest results but if using a sewing machine use a small zig zag stitch to sew your side seam...this stitch has natural give that will stretch a bit with the knit fabric.  To finish the seam we just repeat this zig zag stitch 1/4" into the seam allowance from the side seam.  Trim the excess fabric along this finishing stitch.
  •   Use a thin layer of stretchable fabric glue to now go back and secure the seam allowance along the new armholes/sleeve openings to the interior of the garment.

for the Littles:

for the Girls:

for the rest of Us: