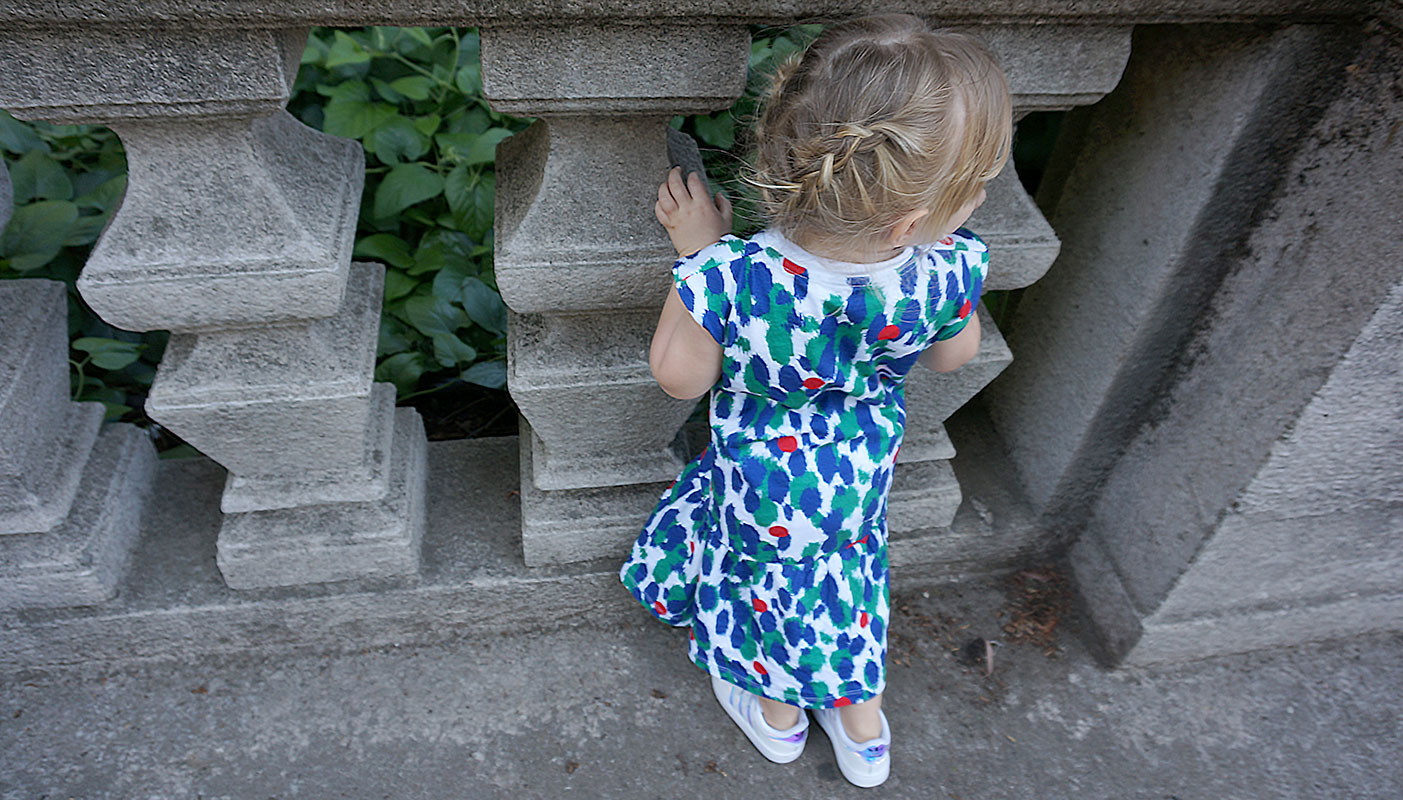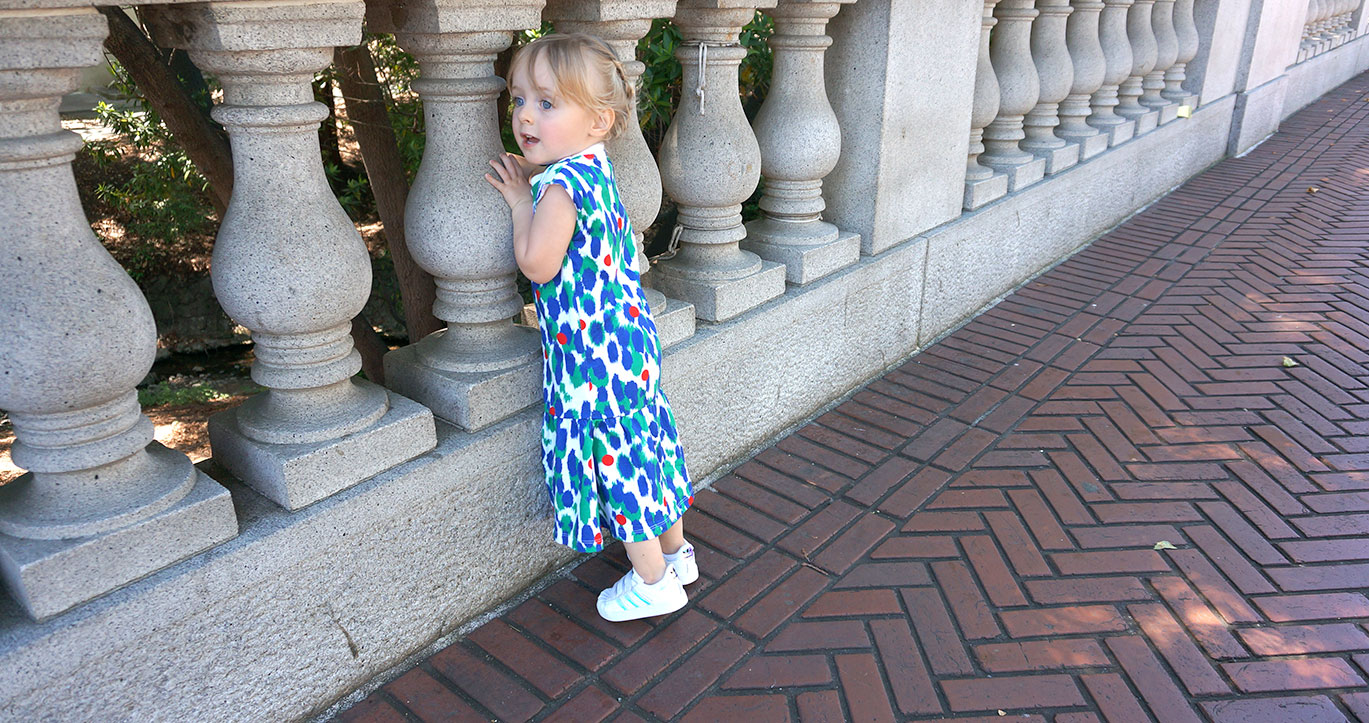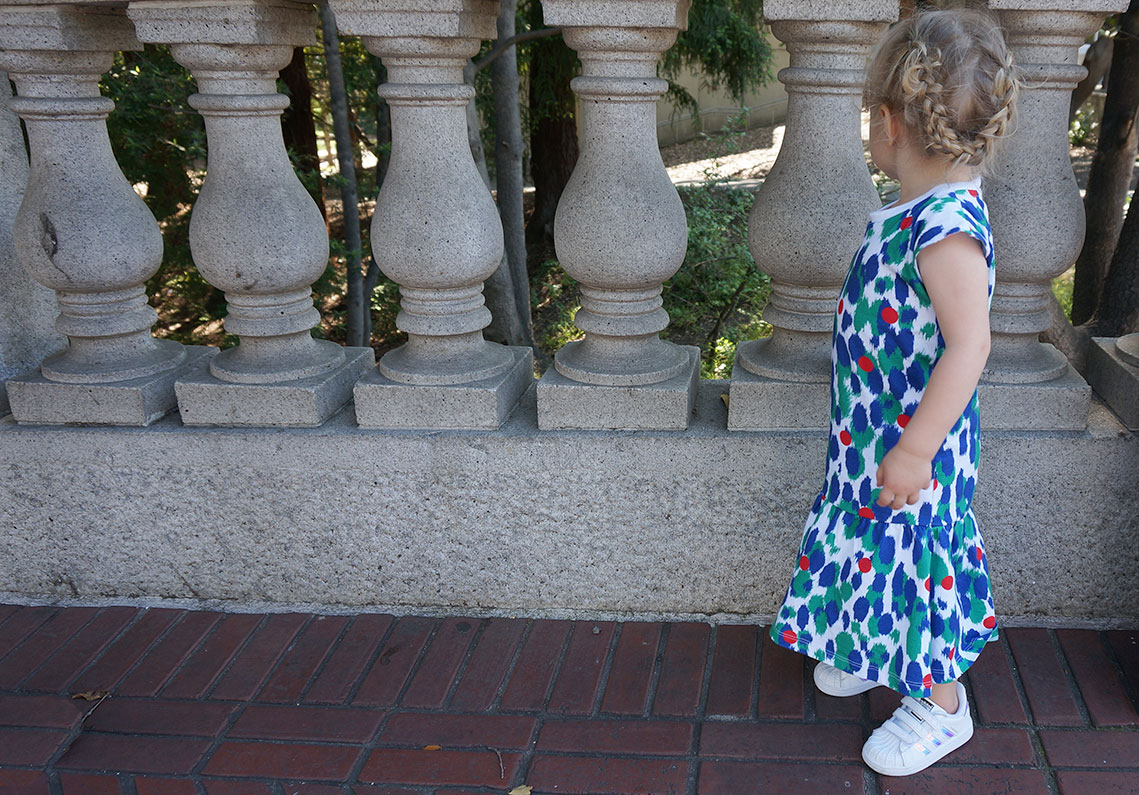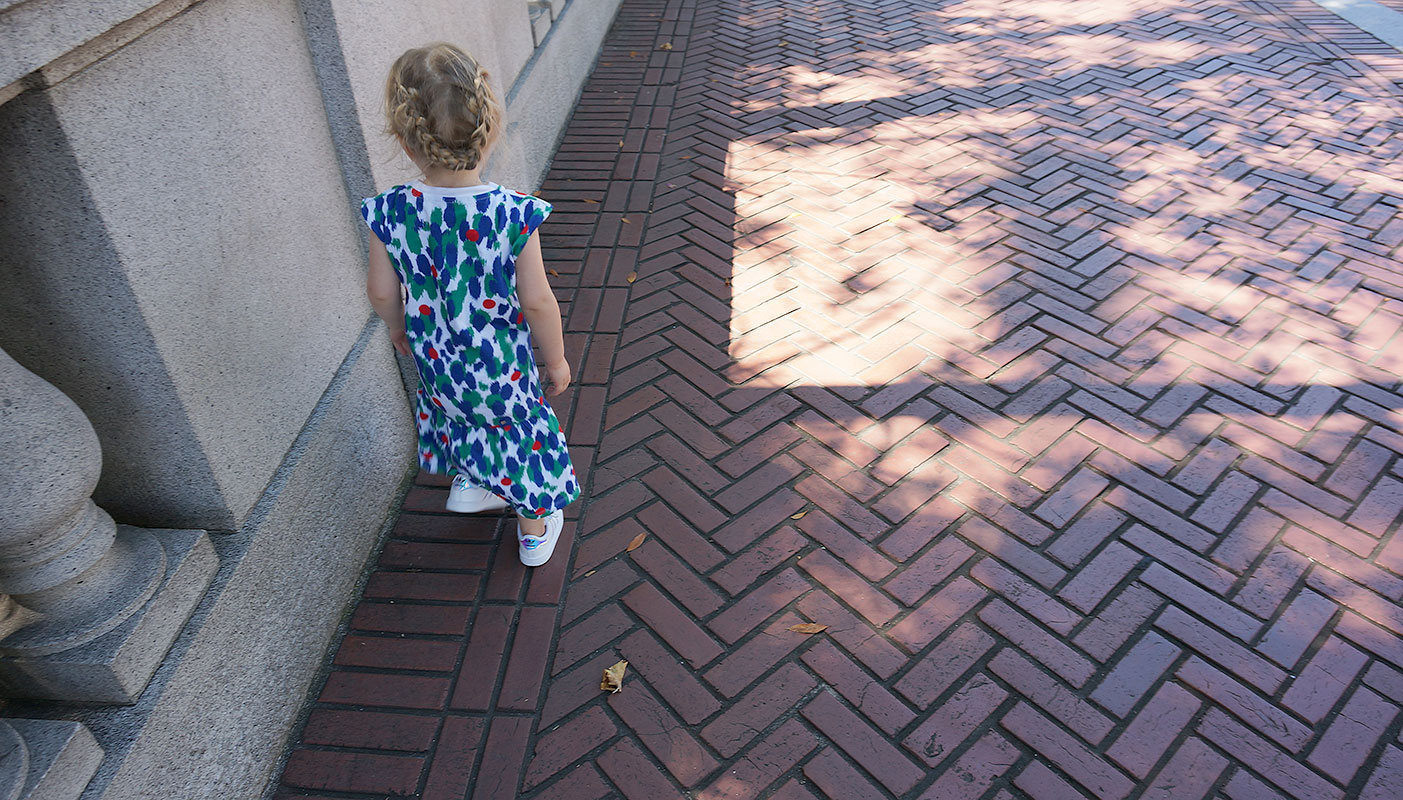


We've caught a bit of the DIY bug lately so this week we are partnering with our friends at Flaire Kids to have some fun with a few pieces from their Être Petite assortment. Today we've taken a drop waist t-shirt dress and turned it into cap sleeved, flared maxi dress. The shirred hem allows for plenty of movement (running and climbing are a non-negotiable for this kiddo) and we love the length that hits just above the ankle. Best of all the shape reminds us of some sort of taffeta prom number from the 90's and we're into it!
The DIY deets:
- Carefully cut the sleeves off along armhole seam. Cut on the sleeve side leaving the seam and seam allowance attached to the bodice of the dress...if you cut carefully along the seam the seam will likely naturally fold into the interior of the garment and will not be visible.
- Try the garment on your child and use safety pins to determine how much you want to take the garment in on each side.
- Measure how far you have pinned in from the edge of the garment on each side, if the measurements are the same, great, if not, average them to determine where you will place your new side seams (for instance if one side you've pinned in 1" from the side seam and on the other you have pinned at 1 1/4" you will use 1 1/8" as your measurement for the new side seam placement). Based on fabrication and cut of the starting garment it will best to keep a column shape and place the new side seam at a consistent distance from the existing side seam for the full length of the garment.
- At the skirt seam you will start to angle your new side seam so that by the time you reach the hem of the garment the new side seam will converge on the existing side seam, you are no longer reducing the width of the garment to maintain maximum fullness in the skirt.
- To sew the new side seam a serger will yield the quickest results but if using a sewing machine use a small zig zag stitch to sew your side seam...this stitch has natural give that will stretch a bit with the knit fabric. To finish the seam we just repeat this zig zag stitch 1/4" into the seam allowance from the side seam. Trim the excess fabric along this finishing stitch.
- Use a thin layer of stretchable fabric glue to now go back and secure the seam allowance along the new armholes/sleeve openings to the interior of the garment.
for the Littles:
- Être Petite Dress (for DIY as photographed above, we normally wear a 2/3, this dress was an 8/9 before alterations)
- Adidas Superstar Metallic Sneakers (also here)
for the Girls:
- Être Petite Dress
- Adidas Superstar Metallic Sneakers
for the rest of Us:
- similar Rebecca Taylor Dress
- Adidas Superstar Metallic Sneakers